Dye penetrant testing for Pump Spare Parts-IMPELLERS
Dye penetrant is one of the most commonly used inspection methods. It falls into the non-destructive testing category of inspection methods, because inspectors can use it without permanently altering or damaging the object they’re inspecting. Which can detect surface-breaking defects-such as hairline cracks, surface porosity, leaks in new products, and fatigue cracks. It can change invisible defects to visible defect by using liquid dye. Mechanism of this test is based on capillary action.
Dye penetrant is also commonly called dye penetrant inspection (DPI), liquid penetrant inspection (LPI), liquid dye penetrant testing, liquid dye penetrant inspection, liquid penetrant testing (LPT), or simply penetrant testing (PT).
The dye penetrant may be applied to the test component by dipping, spraying, or brushing. After adequate penetration time has been allowed, the excess penetrant is removed and a developer is applied. The developer helps to draw penetrant out of the flaw so that an invisible indication becomes visible to the inspector.
In dye penetrant testing, inspectors generally follow these six steps:
1. Clean the surface
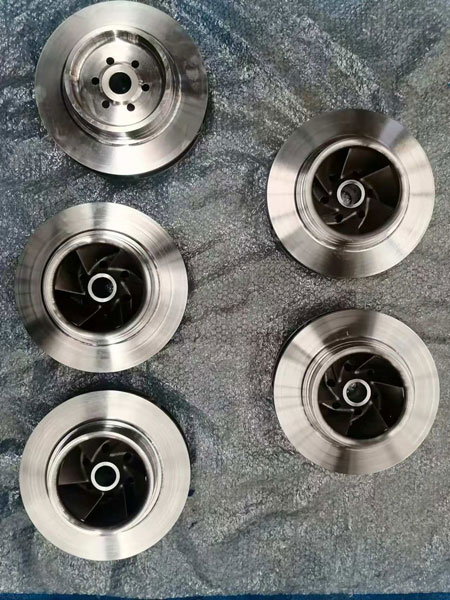
First, inspectors clean the surface they plan to test so that the surface is open and any defects it contains will be exposed, instead of remaining hidden underneath dirt or other foreign elements.
Cleaning processes inspectors commonly follow could include less invasive methods, like vapor degreasing, the use of solvents, or just wiping it with a wet rag, or more invasive methods, like grinding or wire brushing.
2. Apply the dye penetrant
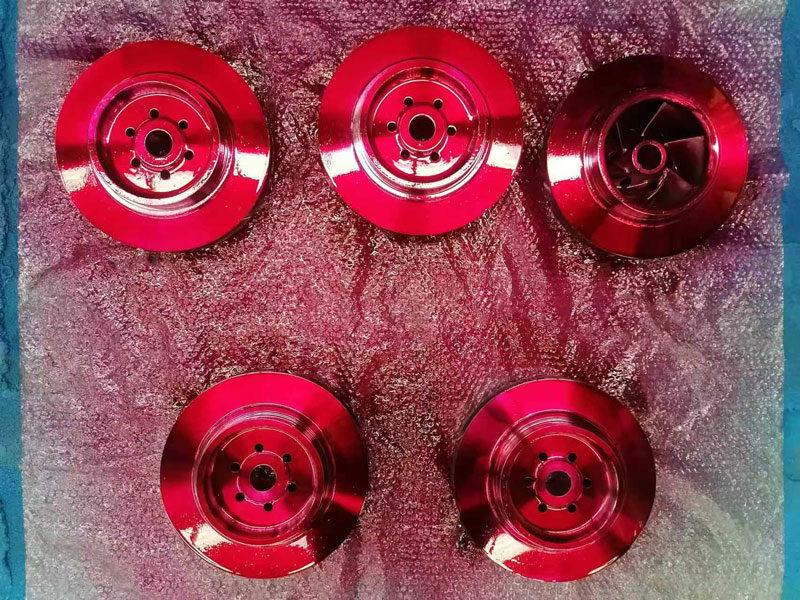
The penetrant that inspectors use is made just for this purpose, and it’s typically sprayed or wiped onto the surface with a brush. After applying the penetrant, inspectors wait for a “dwell period” of five to twenty minutes to allow it to dry. (The right amount of time should be indicated on the label of the specific penetrant being used.)
3. Remove extra penetrant and apply remover
Remove any excess penetrant with a dry rag.
After cleaning off extra penetrant, apply a remover to the surface and rub it dry with a fresh clean, dry rag.
4. Apply developer
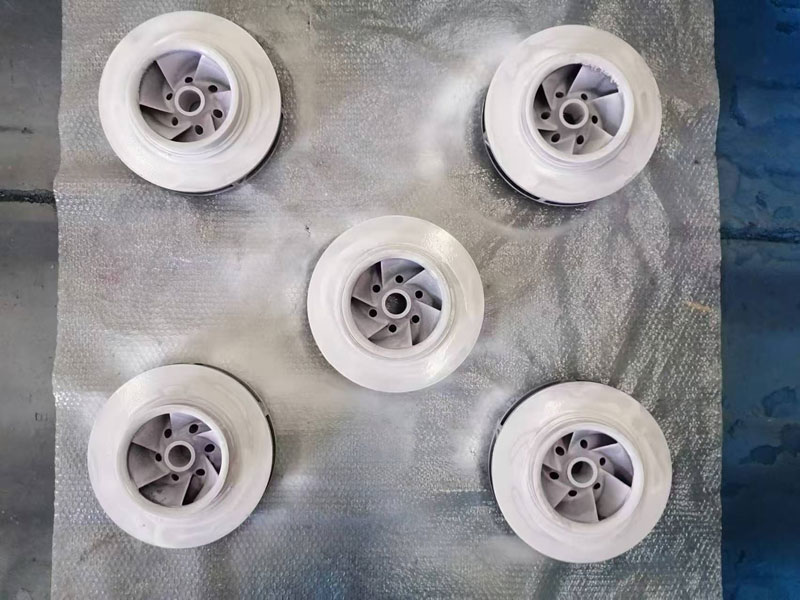
After cleaning and removing the dye penetrant, apply a white developer to the surface. The developer will draw the penetrant from the flaws or cracks on the surface of the material and make them visible.
5. Inspection
At this point, cracks and other types of defects will be visible either to the naked eye or using white or ultraviolet light, depending on the type of penetrant that was used.
Now that the defects have been made visible, inspectors can conduct a visual inspection to identify any flaws that are present.
6. Clean the surface
After the inspection inspectors typically clean the surface that was inspected to return it to its original condition.
Dye penetrant testing can be applied to any non-porous clean material, metallic or non-metallic, but is unsuitable for dirty or very rough surfaces. Surface cleaning is a vital part of the penetrant testing technique.
We use cookies to offer you a better browsing experience, analyze site traffic and personalize content. By using this site, you agree to our use of cookies.
Privacy Policy